
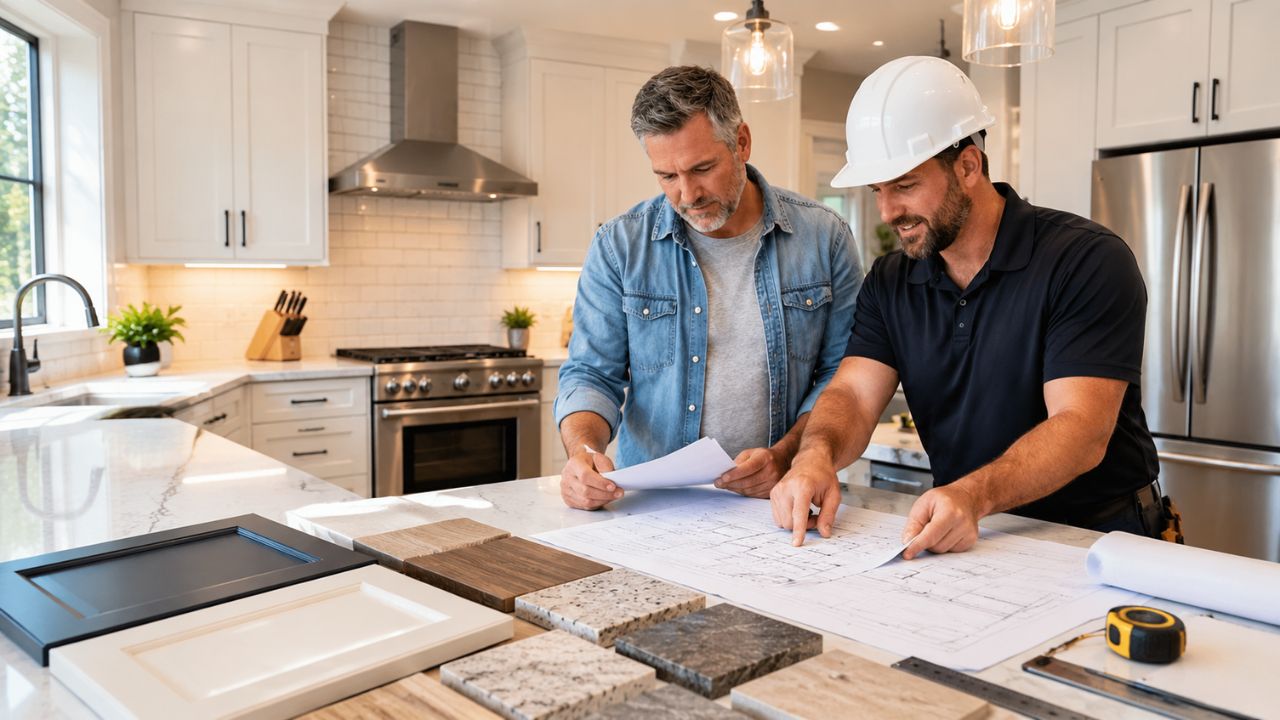
We had a homeowner call us last year — mid-demo — because he realized the fridge he bought was two inches wider than the opening. The cabinets were already ordered. Couldn’t be returned. That one measurement nobody double-checked turned into a $4,200 reorder and six extra weeks.
That’s not a horror story. That’s a Tuesday. And it happens because people get excited, skip the boring stuff, and start swinging hammers before the plan is actually finished.
This kitchen remodeling checklist is the sequence we follow on every kitchen remodeling project. It’s not long. It’s not complicated. But if you go through it before demo day, you dodge about 90% of the problems that blow budgets and timelines.
1. Write Down What’s Actually Wrong With Your Kitchen
Not what you want it to look like. What doesn’t work.
Is there not enough counter space? Are two people always in each other’s way? Is there one outlet for the entire kitchen? Does the pantry make no sense?
Pick your top three. Write them on a sticky note and put it in the fridge. Seriously. Because once you start looking at tile samples and cabinet finishes, it’s really easy to forget why you started this project in the first place.
Then split your wish list into two columns:
- Non-negotiable: more counter space, better lighting, a functional layout, enough storage
- Would be nice: pot filler, beverage fridge, smart oven, under-cabinet speakers
That second column is what gets cut when the estimate comes in high. If you haven’t separated the two, you’ll end up cutting something that mattered to keep something that didn’t.
2. Measure Everything Before You Plan Anything
Grab a tape measure. Write down wall lengths, ceiling height, where every outlet and switch is, where the windows and doors are (and which way they open), where the water lines and gas line come in, and where the vents and air returns sit.
This takes maybe 30 minutes and it prevents the kind of mistake that costs thousands — like designing around a sink location that doesn’t match where the drain actually is.
One big decision comes out of this step: are you keeping the sink, stove, and fridge where they are?
If yes, you save a ton on plumbing and electrical. Swapping out surfaces and fixtures in the same layout is a kitchen renovation, and for a lot of kitchens, that’s all you need.
3. Set a Real Budget — Not Just a Number
A lot of people say “we want to spend around $40K” and then start picking things without tracking where that number’s going. By the time cabinets and countertops are chosen, there’s nothing left for labor. Or permits. Or the dumpster.
Break it down: design, demo, cabinets, countertops, flooring, appliances, lighting, plumbing, electrical, labor, permits, cleanup. And the stuff you’ll forget — handles, trim, grout, delivery charges.
Set aside 10–15% extra if you’re keeping the same layout. 15–20% if you’re moving walls or plumbing.
Older homes hide things — bad wiring, rusted pipes, water damage behind cabinets that nobody knew about until demo day. If you don’t have money set aside for that, the project stops dead. We’ve written about this in our guide on common construction planning mistakes.
4. Pick a Direction, Then Pick Your Materials — In Order
Save photos. Browse. Get a feel for what you like. But don’t buy anything yet.
What matters more than the look is how you use the space. Where do you stand when you cook? Can two people work in the kitchen at the same time? Can the dishwasher door open without hitting the island? If the new layout is going to open up into the living room, scope is about to grow into a bigger home renovation — better to know now.
The order you pick materials in matters more than people think:
- Cabinets first. Everything else — countertops, appliance fit, lighting placement — depends on them. They also have the longest lead time.
- Countertops second. Choose based on how you cook, not how it looks in a photo.
- Flooring third. Does it run under the cabinets or stop at the edge? You need to decide this before install, not during.
- Lighting fourth. Ceiling, task, and under-cabinet. Three layers.
- Appliances last — but get the exact dimensions first. One inch off and you’re reordering cabinets.
5. Talk Through Plumbing, Electrical, and Ventilation Early
This is the unglamorous part. But moving a sink, adding outlets to an island, or upgrading a panel because the new appliances pull more power — that stuff needs to be mapped out before demo, not discovered during it.
Also: a range hood needs a real vent to the outside. A recirculating filter doesn’t do the same job. Worth asking about before you’re staring at a hole in the wall.
6. Sort Out Permits
If you’re swapping cabinets and countertops and nothing else, you probably don’t need a permit. But the second you touch plumbing, electrical, or structure — and almost every kitchen remodel does — you do.
A few things worth asking your contractor:
- Does your city require a Notice of Commencement? It’s a recorded document that protects you if a sub doesn’t get paid by the GC.
- Who pulls the permit — you or them? Good general contractors handle this. Ask when it gets filed, not just whether it will.
- How are inspections scheduled? Rough-in and final inspections happen at specific points. Your contractor should know the local lead times.
7. Build a Timeline With Breathing Room
The actual construction is only half the calendar. Design decisions, material orders, permit processing, and cabinet lead times eat up weeks before anyone picks up a tool. A lot of people don’t plan for that part and then wonder why the project “took forever.”
What keeps a project on track:
- Order cabinets, stone, and appliances before demo — not after
- Get confirmed delivery dates and build them into the schedule
- Buffer for inspections (lead times shift by season)
Our kitchen remodeling guide walks through the full timeline from design to final inspection.
8. Find Your Contractor Before You Need One
Rushing this decision is how people end up with the wrong contractor. You take the first bid because you’re excited to start, and then you spend three months wishing you’d compared.
What’s worth checking:
- License. Look it up yourself on your state’s contractor licensing board.
- Insurance. Get the certificate from the carrier, not a copy from the contractor.
- References from kitchen projects specifically. Bathroom experience doesn’t transfer as much as people think.
- Three itemized, written estimates. Compare scope, not just price. The cheapest bid is usually missing something.
We have a full list of questions to ask a general contractor if you want a cheat sheet.
Before you sign anything, make sure the scope, payment schedule, timeline, and change order process are all on paper.
9. Prep Your House
This part isn’t fun but it matters. Set up a temporary kitchen in another room — microwave, mini fridge, coffee maker, paper plates. Empty the kitchen completely. Cover the floors and furniture nearby with drop cloths because construction dust doesn’t stay where you want it to.
Take photos of everything before the demo starts. You’ll want them later, whether it’s for insurance, a disagreement, or just remembering what was there.
10. Do the Walkthrough Before You Pay the Last Invoice
After weeks of noise, dust, and eating cereal in your living room, the temptation is to sign off and move on. Don’t.
Go through the kitchen slowly:
- Open every cabinet and drawer. Check alignment. Check soft-close. Check hardware.
- Test every outlet, switch, and light.
- Run the faucet for a solid two minutes and check under the sink for drips.
- Look at grout lines, seams, caulk, and paint. If anything’s unfinished, write it down before you pay.
Collect these before final payment:
- Passed inspection paperwork
- Appliance manuals and warranties
- A final lien release from the contractor — this protects you from a sub filing a lien on your house after you’ve already paid in full
Kitchen Remodeling Checklist at a Glance
| Stage | What to Do | What Goes Wrong If You Skip It |
| Goals | Top 3 problems, must-haves, nice-to-haves | Budget goes toward extras, not real needs |
| Measurements | Document walls, pipes, outlets, vents | Designs that don’t fit the actual room |
| Budget | Line-item breakdown + 10–20% contingency | Project stalls at the first surprise behind a wall |
| Materials | Cabinets first, appliance sizes confirmed | Reorders and weeks of delay |
| Systems | Map plumbing, electrical, and venting changes | Mid-project panel upgrades and rerouted pipes |
| Permits | Confirm requirements, who files, inspection timing | Fines, failed inspections, resale problems |
| Timeline | Order materials before demo, buffer inspections | A three-month project that takes six |
| Contractor | License, insurance, three written estimates | Poor work, unclear costs, no recourse |
| Home prep | Temporary kitchen, full cleanout, dust barriers | Months of unnecessary chaos |
| Walkthrough | Test everything, collect the lien release | Paying for work that isn’t finished |
Ready to Start?
That’s the checklist. Goals first, budget second, materials third, permits before demo. Follow that order and you avoid the problems that actually cost people money.
If you want to talk through your project before you commit to anything, the team at Man Made Builders will walk through it with you. No pitch, no pressure.
Frequently Asked Questions
1. What should I do before starting a kitchen remodel?
Start by identifying your kitchen’s main problems, measuring the space, setting a realistic budget, and planning your layout and materials before demolition.
2. How much extra should I budget for a kitchen remodel?
Plan for an additional 10–15% for a remodel with the same layout and 15–20% when moving walls or plumbing to cover unexpected costs.
3. What should I choose first when remodeling a kitchen?
Choose your cabinets first because their dimensions affect countertops, appliances, lighting, and other parts of the kitchen design.
4. Do I need permits for a kitchen remodeling project?
Permit requirements vary by location and project scope. Plumbing, electrical, or structural changes may require permits, so confirm requirements before work begins.
5. How can I avoid delays during a kitchen remodel?
Order cabinets, countertops, and appliances before demolition, confirm delivery dates, and include extra time for permits, inspections, and unexpected issues.